Letzter Beitrag


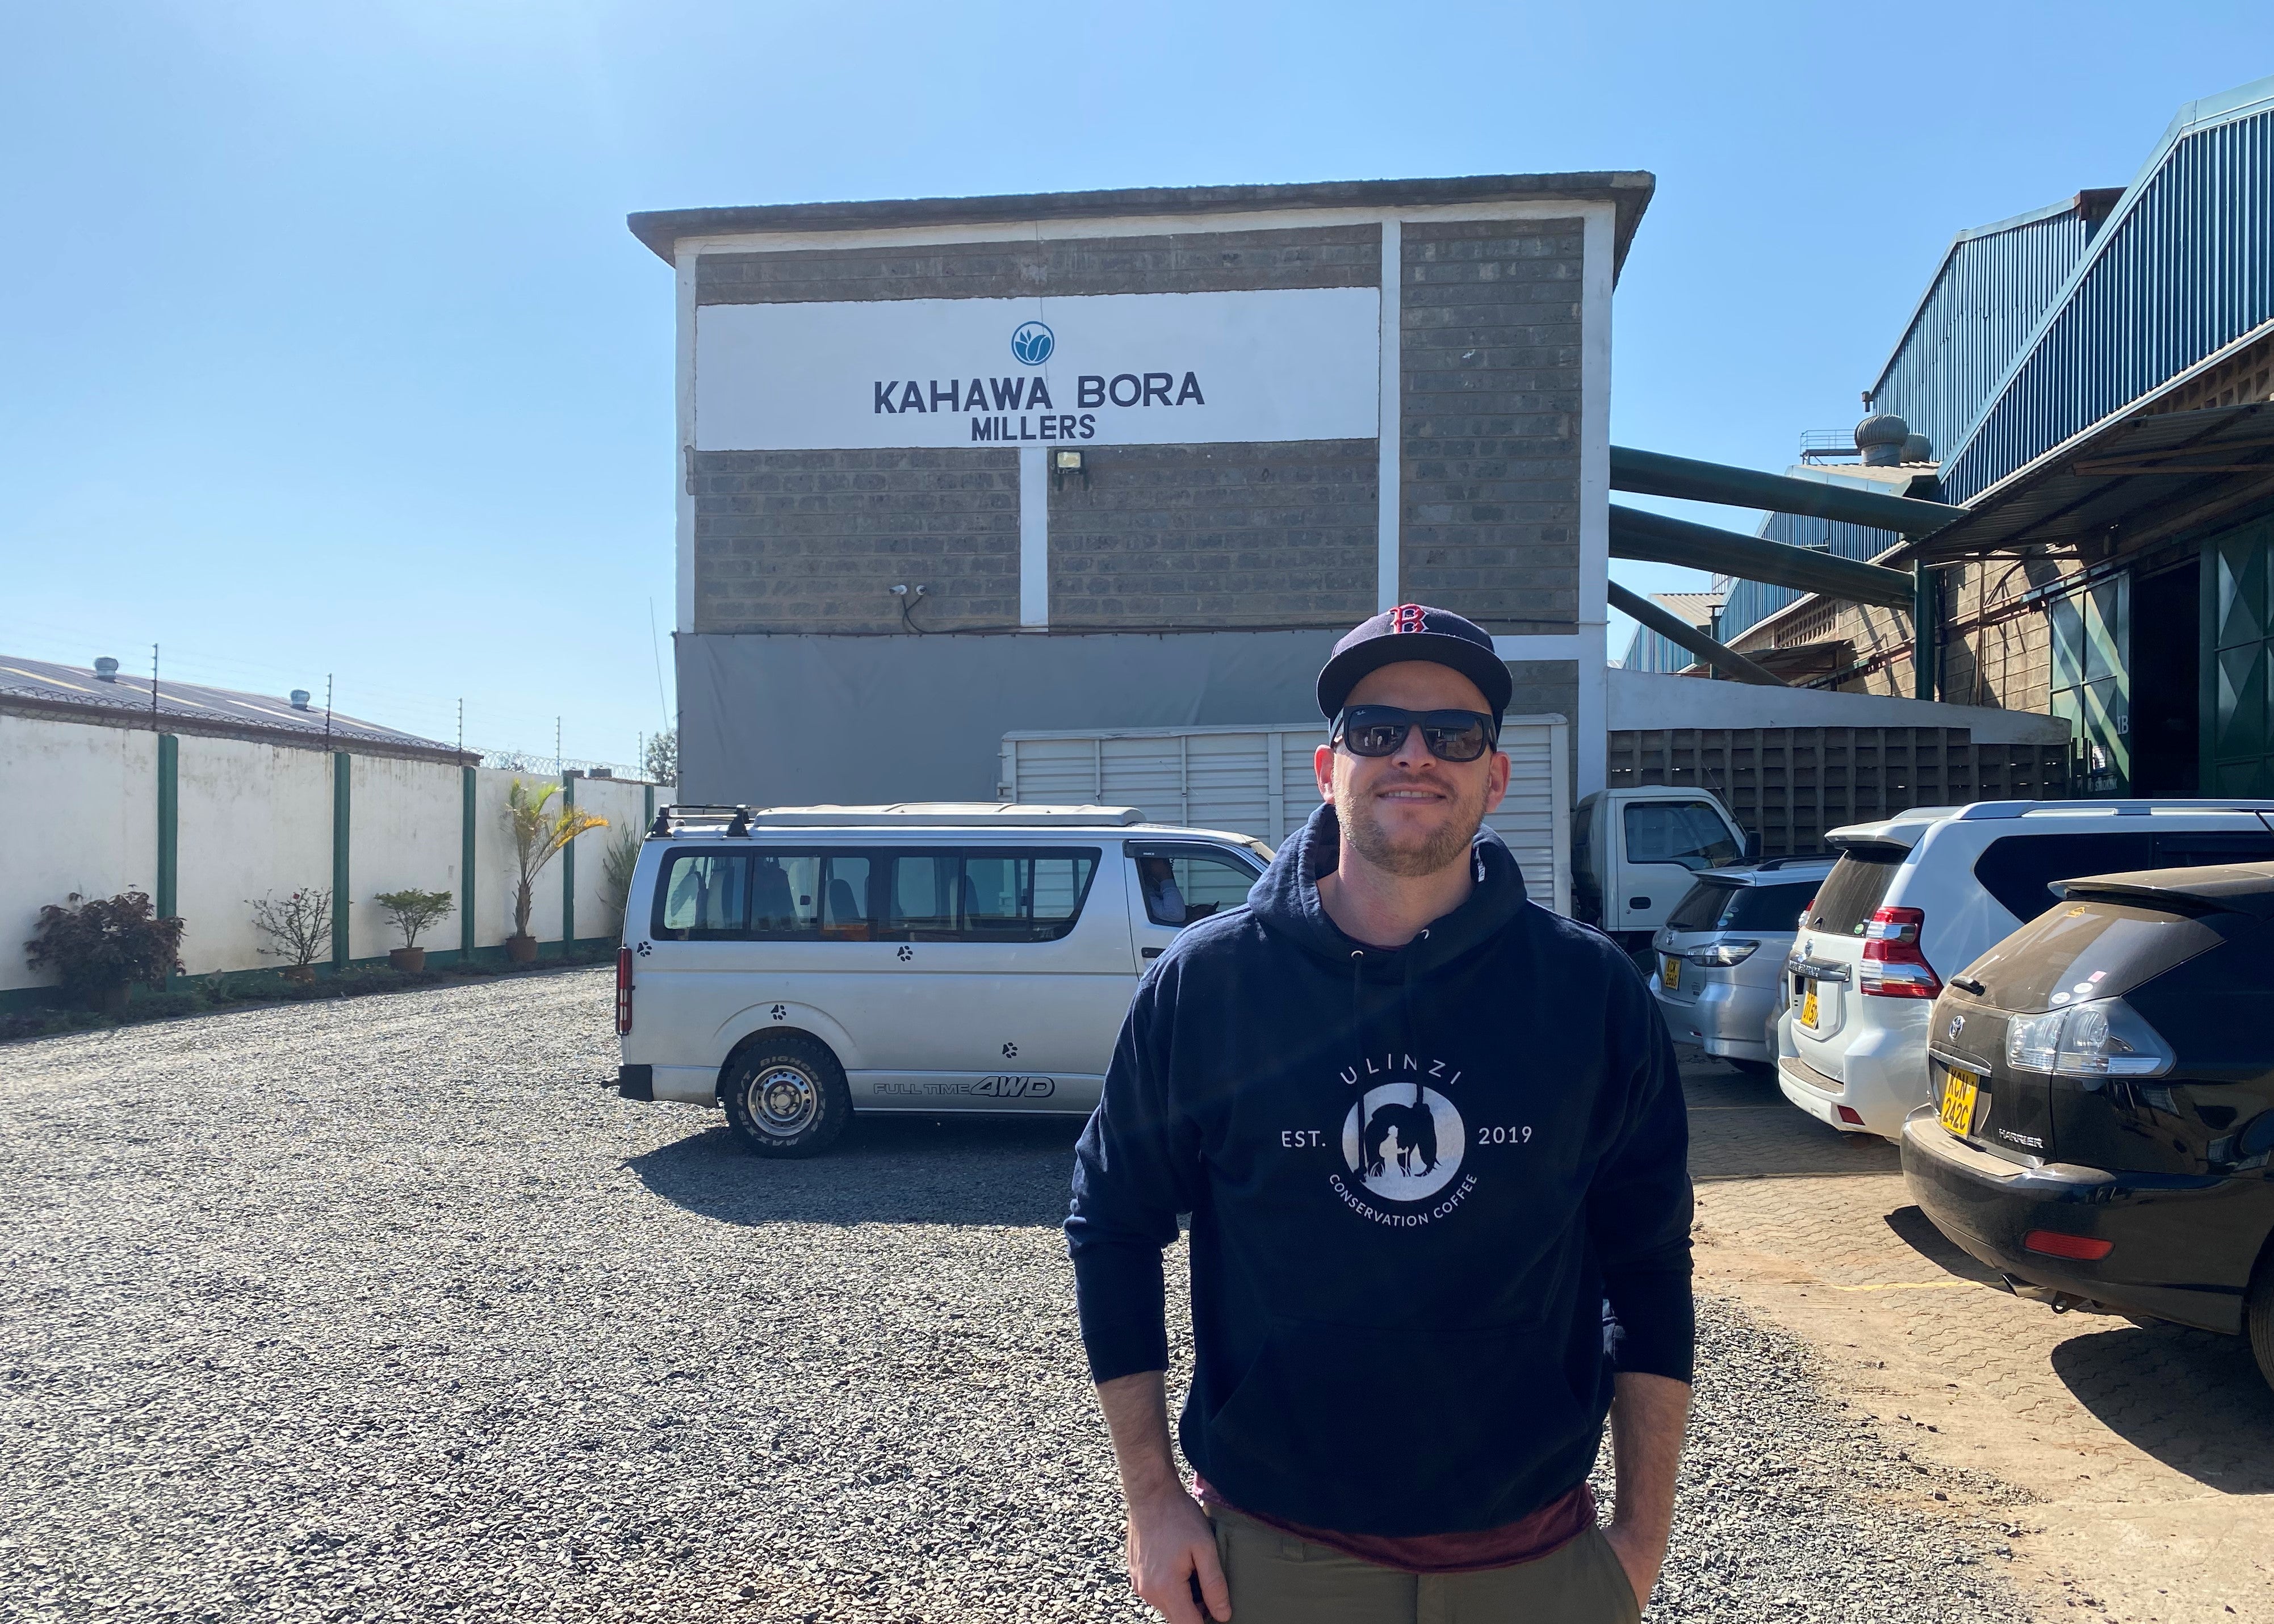
Nairobi - Kahawa Bora Millers - visiting the dry mill
Steffen Sauer
Apr 11, 2021
Back in Nairobi we wanted to focus on the second part of the process, when the coffee gets transferred to the dry mill. This part of the process I will now explain to you today, but before we reflect about the process which already took place:
1. coffee harvesting, 2. wet milling/de-pulping, 3. soaking, 4. drying

Now I will share the details of the dry milling process with you, explained with examples from Kahawa Bora Millers.

Please find below a short summary of the process sequence which I will introduce step by step to you

Everything starts with the arriving coffee: Goods reception and paperwork (documenting every step is very important for the traceability). Lorries load off sacks of parchment coffee. Parchment is coffee whose red skin has been removed and the coffee has been dried to the target moisture level. The parchment gets weighed at the weigh bridge before it is taken to the parchment store.

It is at this point where the expected milling loss is determined through a sample taken from each consignment to check for moisture content, diseased beans and other impurities. A farmer therefore usually knows in advance what they expect to get out of the milling process. Next step is the parchment hopper.

The parchment hopper transports it to the de-stoner where impurities such as stones, metallic objects and papers get removed.

The picture below shows the result of the destoning process.

Next process step to come is "hulling". The huller removes the parchment layer from the coffee. During the process, a fan sucks the husks to the husk chamber and the beans go to oscillating screen to separate and return the unhusked coffee back to the huller. Bad beans are also removed.

Here you can see the result after the hulling process. You can clearly identify the separated husks and the green coffee beans.

Polishing is the next step where any silver skin that remains on the beans after hulling is removed by a machine.

And this is how the coffee looks like after the polishing process. Only green coffee beans left.

The coffee is then graded according to size. Beans are sized by being passed through a series of screens. The larger the bean, the better the quality. This gives the six grades; AA, AB, PB, C, T and E.

The beans are are then sorted according to weight by using a gravity separator to separate heavy from light beans. The lighter coffee is removed because it affects the taste, ensuring that only the finest quality coffee beans are exported. The lighter coffee of grades AA, AB, PB and C are put together into a new grade called TT.

Finally the beans are ready to be packed. Depending if they get sold via the coffee auction or via direct trade they will get packed different. Sample packing in preparation for the auction (here 16kg) and into 60kg bags for direct trade.


Each bag is clearly labeled, the white label you see is also on the inside, just in case the label outside gets lost.

Every last bag of a batch gets a yellow label clearly stating the overall amount and number of bags to ensure no bag gets lost. Overall a quite impressing process.

Now the coffee is ready to go to the coffee auction or to sample testing. Prior to both next steps, coffee samples get roasted ad cupped to describe flavor and confirm quality.
In my next post I will go into the details of the Specialty Coffee Association Green Coffee Grading Protocols and introduce coffee cupping to you.
Teile diesen Beitrag: